Why it is Important
Many times during the formative stage, the audience suggests changes or additions the design team had not considered. At the USS Constitution Museum, we have come to see formative evaluation as the process of making the audience a partner. Building exhibits is expensive, and formative evaluation lets you test and adjust elements in prototypes before developing the final version.
Put it into Practice: Prototyping
A large part of this stage often involves prototyping, so you’ll want to ask families what they prefer, what they like or dislike, and most importantly, why they feel this way and how they would change things. For example, when testing the effectiveness of an interactive, it’s not enough to merely ask, “Do you like this activity?” You’re going to want to know more detailed information: “What do you like (or dislike) about it? What, if anything would you change?” This can help determine if an activity or experience is meeting family engagement goals. You can observe whether adults and children are understanding the activity, the level of adult engagement (is it active or passive?), or if it looks like the family is having fun.
You might try testing:
- Drafts of text panels, instructions, or object labels
- Graphics
- Interactive elements
- Rough cuts of media pieces
Prototypes can take many forms. The form depends on what the final experience will be and where you are in the design process. Try testing a few versions of a label on a clipboard and you quickly find out if families interpret the label as you intended. A paper and cardboard mock-up can test an idea with staff and a few family members, friends, or visitors. Observing visitor flow near a paper directional sign can show if your signage will do what you need it to, before investing in expensive, ineffective signage. A plywood and laminate version of an interactive that can be tested on the floor is much less expensive than the finished version—especially if the final version is not successful.
An Iterative Process
Prototyping requires testing and retesting elements until they are successful. The process is repetitive but valuable. For example, to get an overall feel for visitor satisfaction, it can be helpful to ask visitors to rate each interactive (like a movie with a five-star scale). At the USS Constitution Museum, we keep modifying each element tested until the average visitor ranking reaches four and a half or five stars.
Observing visitor interaction through in-person timing and tracking as well as photos or videos can help measure the effectiveness of prototype elements.
Timing and Tracking
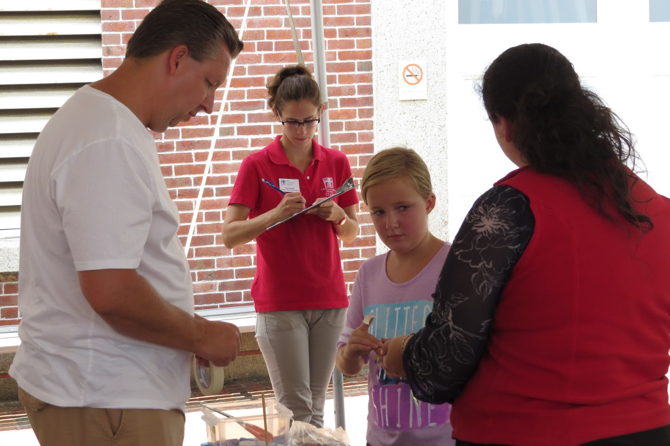
Observing families in a timing and tracking study is easy, objective, and informative at any stage of evaluation. Grab a clipboard, a floorplan of your exhibit and prototypes, and a watch to start timing and tracking visitor interactions. Each observation session should follow the same set of rules. You may decide to follow one member of a group at a time, for example. You can decide on some of these after timing and tracking a few families. Just be sure that all data collectors understand the rules. This consistent reporting yields valuable data.
Here is a completed example of a form which the USS Constitution Museum staff used to track movement and usage of an exhibit.
If families are spending less than 10 minutes in a large gallery, you can bet they are not reading thousands of words of carefully crafted text. Perhaps you observe they are stopping somewhere you did not expect. Use these observations to adjust prototypes and retest updated elements.
Photo and Video
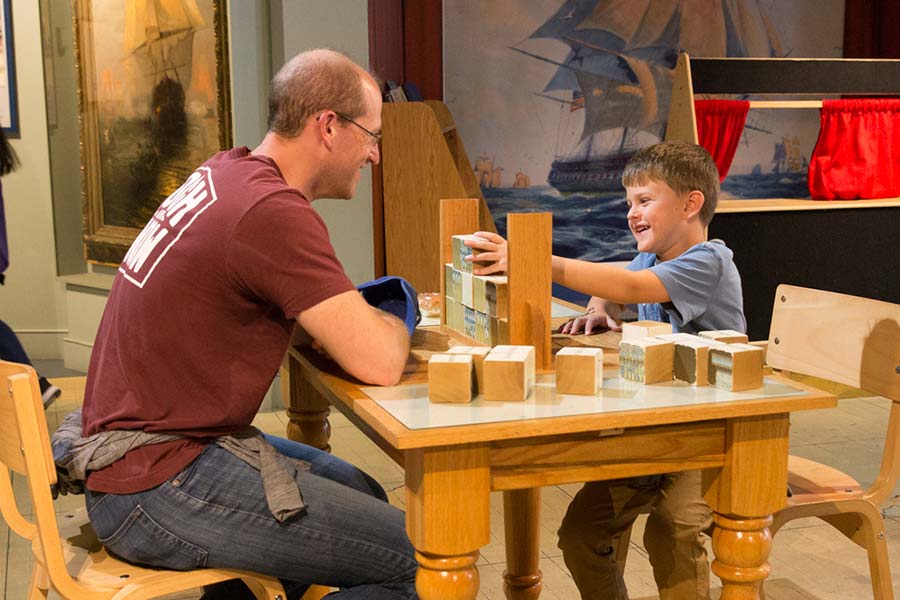
Observing families in action during a program or inside an exhibit provides a wealth of information you can use at any stage in the evaluation process. That said, even experienced evaluators can feel overwhelmed trying to actively observe families and record detailed notes at the same time. Photographs and videos lessen this pressure and provide a different perspective on what’s working and what’s not.
Don’t expect that just because the camera is on, you’re recording useful evaluation data. Make a clear plan of what to record. Look to see if adults and children are interacting with each other and the exhibit or program. Are they having conversations? How is the interpreter prompting conversation? And think about the challenges you may face in advance. For example, can your camera’s microphone pick up the voices? This technique can easily be done on a budget. You don’t need high-quality images to evaluate when a smartphone or inexpensive digital camera will do the job just fine.
Exhibit Prototyping
Why prototype? Exhibit prototypes can test:
- Functionality – Will it work?
- Clarity – Do both adults and children understand how to interact with the exhibit?
- Comprehension – Does each family member understand the exhibit’s key idea or story?
- Interest – Do all ages want to engage with the exhibit? Do they unexpectedly show interest in certain elements?
Exhibit prototypes can take many forms. Here are a few suggestions:
- Alternative labels – Can be simply presented on a clipboard: fast, cheap, and often informative.
- Cardboard mockups – Can cheaply identify physical problems and communicate to fellow staff and visitors how you imagine an exhibit working. These are also useful in the exhibit development process.
- Temporary signage – Using a paper version of signage, such as directional signage, can help you assess the workability of the idea before you spend large amounts of limited funds.
- Interactive prototype – A prototype that may look a lot like your final version. If you need to test an idea on unfacilitated visitors (visitors that are not given any explanation of the prototype) you will need a prototype that looks a lot like the final version. However, painted wood and laminated paper will still be significantly cheaper than your final interactive.
Prototyping Instructions: Dress Like a Sailor
It is difficult to get instructions right on the first try. They should be clear, concise, and intuitive. But what a design team thinks is clear may be confusing for a family audience. That is why it is so important to prototype the instruction elements of your exhibits or programs. At the USS Constitution Museum, we found the process of prototyping instructions especially valuable for our “Dress Like a Sailor” interactive.
For years the USS Constitution Museum classroom programs included getting kids to try on reproduction sailors’ clothing. It was always popular and helped to communicate the nature of the physical world sailors experienced. It is a tactile experience and opens the door to questions of how sailors dealt with weather, washing, and even social structure.
We decided to include this type of activity in our All Hands on Deck exhibit. A wooden chest holds reproductions of sailors’ clothes in various sizes, for both children and adults. A label urges visitors to “Try it on!” and tells visitors “Sailors didn’t have an official uniform in 1812.” Life-sized cut outs of commissioned officers standing close by show the contrast of the more ornate uniforms that officers would have worn.
It took three rounds of prototyping instructions to develop clear, interpretive text and graphics:
The box of clothing and first instructions did not help children or adults use the clothing appropriately. In fact we began to find ripped clothing and noticed that visitors did not necessarily know which piece of clothing to put on first. We also lost all our handkerchiefs and had to stop supplying them. We modified the instructions and saw an increase in appropriate use.
Be Prepared to Cut Elements
Information gained from prototyping, and evaluating visitor interactions, will most likely lead to exhibit design changes—changes that will improve the visitor experience and create opportunities for learning. A favorite idea among the exhibition development team may not work and need to be abandoned. You must know what you are prototyping for, while remaining open to unforeseen outcomes.
At the USS Constitution Museum, we learned this lesson with the “Pack your Seabag” element of our All Hands on Deck prototype exhibit. With the “Pack your Seabag” interactive, we wanted visitors to consider what a sailor would need to bring with them on the ship for a voyage that could last up to two years. Visitors could learn how little room a sailor had to put all the things he needed and wanted to bring aboard.
The interactive consisted of two rectangular magnetic panels, one with the outline of a seabag on it, and one with instructions and magnet representations of the items sailors would pack in their seabag. Visitors needed to first pack the sailors’ required items, such as shoes, pants, shirts, etc., and then carefully choose an optional item (a pipe, playing cards, shaving kit or bible) in the small leftover space in the seabag.
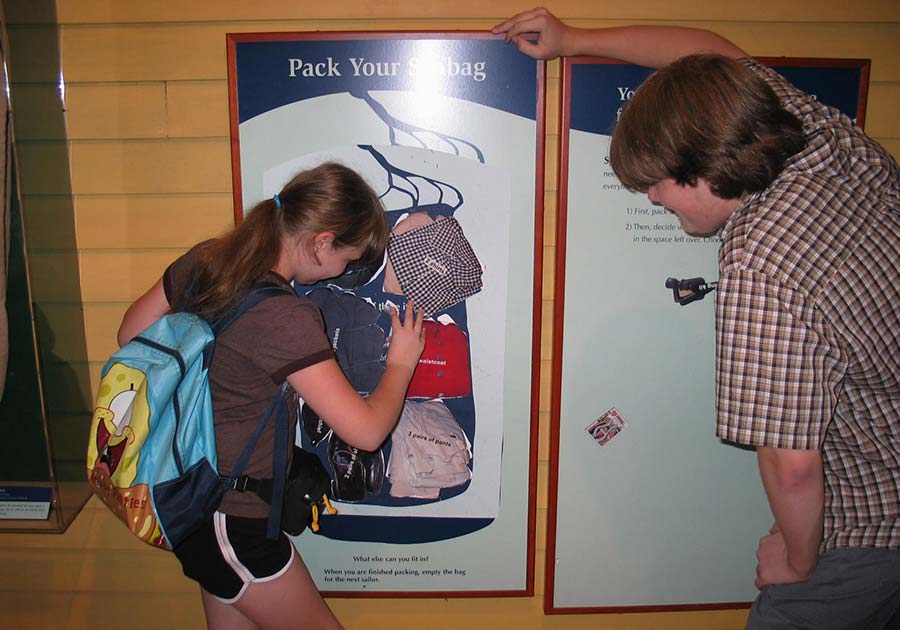
Families understood the instructions for the seabag interactive, but when we observed families, a very low percentage stopped at and used the interactive. When we surveyed families, they rated the activity a 3 out of 5. The activity lacked a reward for family visitors. They commented that “it was ok” or that they “did not see the point” of it. No new information was uncovered nor was a new perspective gained by doing the interactive. The activity itself offered neither a tactile reward nor a challenge. It was just something to do. We tried two versions of the activity, but we soon realized the concept was not rewarding for our visitors. There is no sea bag interactive in the final exhibition.
Prototyping Programs
Even the most seasoned program developer doesn’t get it right the first time. It takes repeated trial and error, experimentation and failure, testing and redesign, to build an entertaining, educational program.
Start your testing with inexpensive, readily available materials. If you need to change something or redesign completely, you won’t break the bank. Visitors are willing to share opinions if you ask for them: “Welcome, we’re testing a new program and we’d love your feedback.”
Once you try prototyping, you’ll see there’s really no other way to ensure success, as Beverly Sheppard explains in this video:
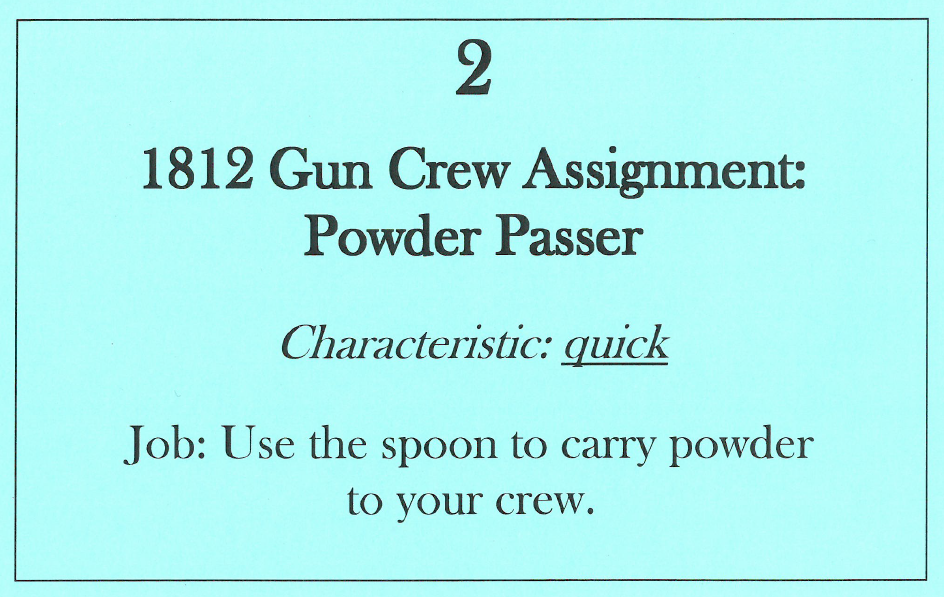
Less is More: Prototyping Crew Cards
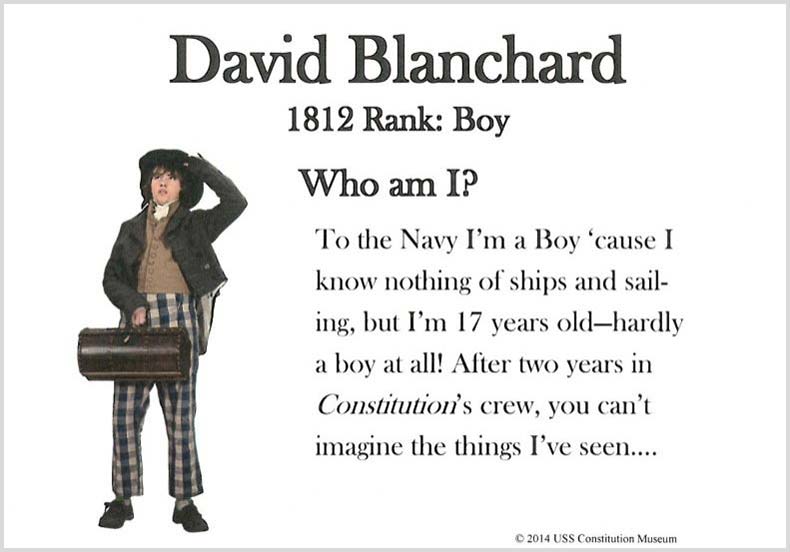
When we first decided to give participants in our Ready, Aim, Fire! program gun crew roles, we thought it would be a great idea to also provide the real-life stories of USS Constitution‘s 1812 crewmembers who did the same jobs. We have done extensive research on these individuals, so crew cards, we thought, were a great way to disseminate this information and personalize the gun crew process. While that is true, here are the problems we (quickly) ran into as we prototyped the cards:
- They were too wordy. Parents took several minutes to read all of this to their kids (The following example is just one card. What if you had 4 people in your family?).
- It stopped the progress of the program and inserted a speed bump that, while interesting, didn’t help move the program along.
- Even the last page, which contained the text they actually needed to know to complete the activity, was too wordy and distracting.

After observing our visitors and the problems that arose with these prototypes, we revised the cards. We simplified them into a one-sided index card-sized handout with the name of the job, a one-word characteristic needed for that role, and the job of that person in this specific gallery activity (not the role in 1812).